This post contains affiliate links, which means I will make a commission at no extra cost to you should you click through and make a purchase. As an Amazon Associate I earn from qualifying purchases.
Wondering how to grow spinach indoors? Growing your own spinach indoors is a rewarding experience, especially for beginner gardeners looking to cultivate fresh, healthy greens right in their own home.

How To Grow Spinach Indoors: A Beginner's Guide
Spinach is a versatile leafy green that can be grown year-round with the right setup. This guide will walk you through the steps to successfully grow spinach indoors, covering everything from selecting the right variety to harvesting your first batch.
Check out these tips for growing arugula for another easy beginner plant.
1. Why Grow Spinach Indoors?
Spinach is a nutrient-rich green that is easy to grow, even for beginners. Growing spinach indoors allows you to enjoy fresh greens all year, regardless of the weather outside. This is especially beneficial in colder climates where outdoor gardening is limited to a few months. Additionally, growing indoors gives you control over the environment, reducing the risk of pests and diseases.
2. Choosing the Right Spinach Variety
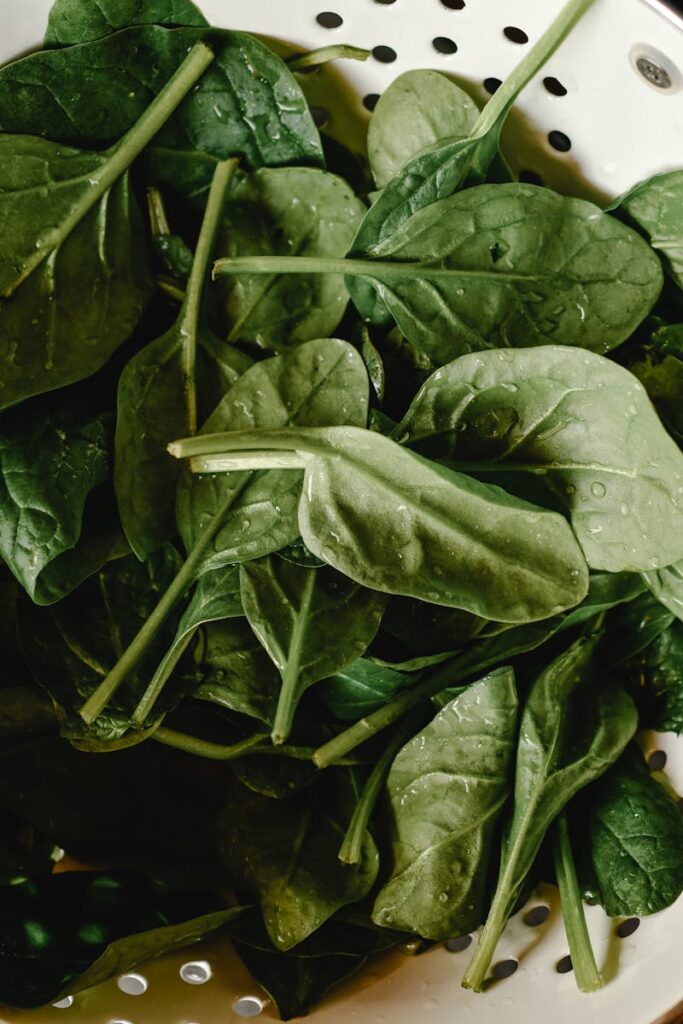
Not all spinach varieties are ideal for indoor gardening. Some varieties are better suited to the controlled conditions inside your home. Here are a few recommended varieties:
- ‘Baby’s Leaf’: A quick-growing variety that produces small, tender leaves.
- ‘Bloomsdale Long Standing’: Known for its deep green, crinkled leaves and resistance to bolting (premature flowering).
- ‘Space’: A semi-savoy variety that is resistant to diseases and grows well in limited light.
When selecting seeds, opt for those labeled as suitable for container gardening or indoor growing, as these will be more adaptable to the conditions in your home.
3. Setting Up Your Indoor Garden
Creating the right environment is crucial for growing spinach indoors. Here’s what you need to consider:
A. Containers and Soil
Spinach doesn’t require deep containers, as its root system is relatively shallow. A pot with a depth of 6-8 inches will suffice. Ensure the container has drainage holes to prevent waterlogging, which can lead to root rot.
For soil, use a high-quality potting mix. You can create your own by mixing equal parts of peat moss, perlite, and vermiculite. Adding compost can also enhance the soil's nutrient content.
B. Lighting
Spinach needs at least 6 hours of sunlight daily. Place your pots near a south-facing window for optimal light exposure. If natural light is limited, especially in winter, you can supplement with grow lights. LED grow lights are energy-efficient and can be adjusted to provide the full spectrum of light that plants need.
C. Temperature and Humidity
Spinach thrives in cool conditions, ideally between 60-70°F (15-21°C). Avoid placing your plants near heat sources or in rooms that get too warm. Humidity levels around 40-50% are ideal for spinach. If your home is dry, consider using a humidifier or placing a tray of water near the plants to increase humidity.
4. Planting Spinach Seeds
A. Seed Starting
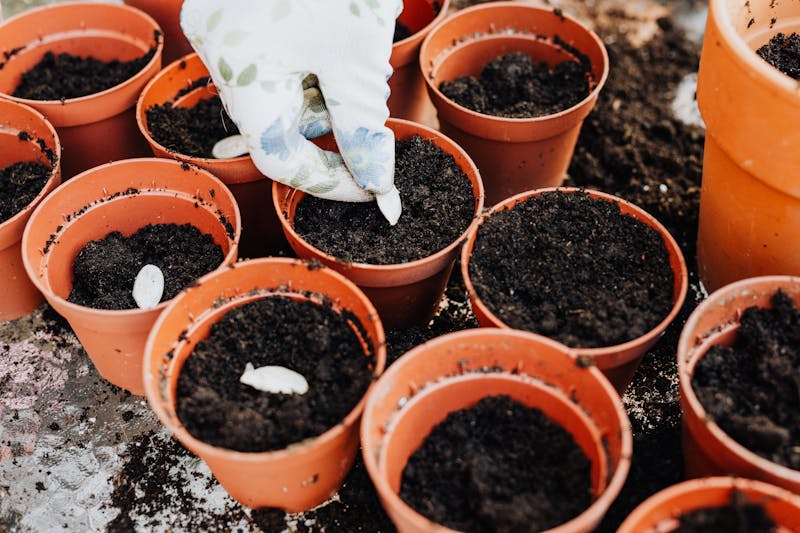
Begin by filling your containers with the prepared potting mix, leaving about an inch from the top. Moisten the soil before planting the seeds.
Plant the seeds about ½ inch deep and 2 inches apart. Lightly cover the seeds with soil and gently water them. Keep the soil consistently moist but not soggy, as overly wet conditions can cause the seeds to rot.
B. Germination
Spinach seeds typically germinate within 7-14 days. To encourage faster germination, you can cover the pots with plastic wrap to retain moisture and warmth, but remove it as soon as the seedlings appear to prevent mold growth.

5. Caring for Your Spinach Plants
Once your spinach seeds have germinated, they will require consistent care to thrive. Here are some tips:
A. Watering
Spinach prefers evenly moist soil. Water the plants whenever the top inch of soil feels dry. Use a watering can with a narrow spout to avoid splashing water on the leaves, which can lead to fungal issues.
B. Fertilizing
Spinach is a relatively heavy feeder, meaning it benefits from regular fertilization. Use a balanced, water-soluble fertilizer every 2-3 weeks. Alternatively, you can apply a slow-release fertilizer at the time of planting. Be cautious not to over-fertilize, as this can lead to nutrient burn.
C. Thinning
If you’ve planted the seeds densely, thinning will be necessary to prevent overcrowding. Once the seedlings have grown to about 2 inches tall, thin them out so that the remaining plants are spaced 3-4 inches apart. The removed seedlings can be added to salads or composted.
D. Pest Management
Although indoor gardening reduces the risk of pests, it’s still possible to encounter issues like aphids or spider mites. Regularly inspect your plants for any signs of pests. If you notice any, remove them by hand or use an organic insecticidal soap.
6. Harvesting Spinach
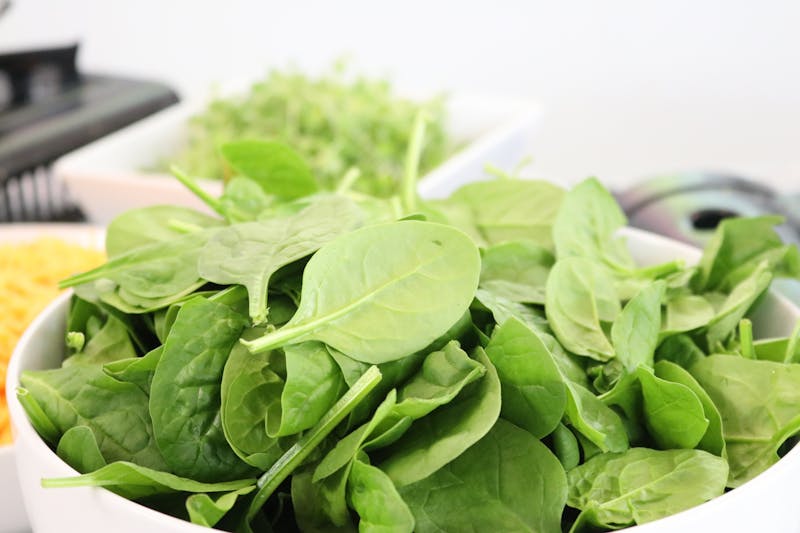
Spinach is ready to harvest when the leaves are large enough to eat, typically around 30-50 days after planting. Harvesting can be done in one of two ways:
- Cut-and-Come-Again: This method involves harvesting the outer leaves first, allowing the inner leaves to continue growing for future harvests.
- Full Harvest: For a larger yield, you can cut the entire plant at the base once it reaches maturity.
Be sure to harvest regularly to encourage new growth and prevent the plant from bolting.
7. Troubleshooting Common Problems
Even with careful attention, you may encounter some common issues while growing spinach indoors. Here are a few tips to address them:
- Leggy Seedlings: If your seedlings are thin and leggy, they are likely not getting enough light. Move them to a brighter location or increase the hours of grow light exposure.
- Yellow Leaves: This can be a sign of overwatering or nutrient deficiency. Adjust your watering schedule and consider applying a balanced fertilizer.
- Bolting: If your spinach starts to flower prematurely, it’s a sign that the plant is stressed, usually due to high temperatures or lack of water. Keep the growing environment cool and consistent to avoid this.
8. Enjoy Growing Spinach Indoors
Once you’ve successfully grown and harvested your spinach, the final step is to enjoy it! Fresh spinach can be used in salads, smoothies, and a variety of cooked dishes. The satisfaction of eating greens you’ve grown yourself is unmatched, and with the knowledge gained from your first indoor gardening experience, you can confidently expand to other crops.
Conclusion
Growing spinach indoors is an accessible and rewarding project for beginner gardeners. With the right setup, care, and attention, you can enjoy fresh, nutritious spinach year-round. Whether you have a small apartment or just want to extend your growing season, indoor spinach gardening is a great way to cultivate your green thumb. Happy gardening!
