This post contains affiliate links, which means I will make a commission at no extra cost to you should you click through and make a purchase. As an Amazon Associate I earn from qualifying purchases.
Collard greens are a dark green, leafy vegetable related to the cabbage. They taste a bit like chard and are a traditional dietary staple in the southern United States, as well as Brazil, Portugal, Africa, Spain, and other countries.

Collard greens are actually biennials, but unless you have lots of garden space, you are better off treating them as annuals. The first year produces the best edible crop. The second-year, your plants will bolt and flower, but the leaves will be too bitter.
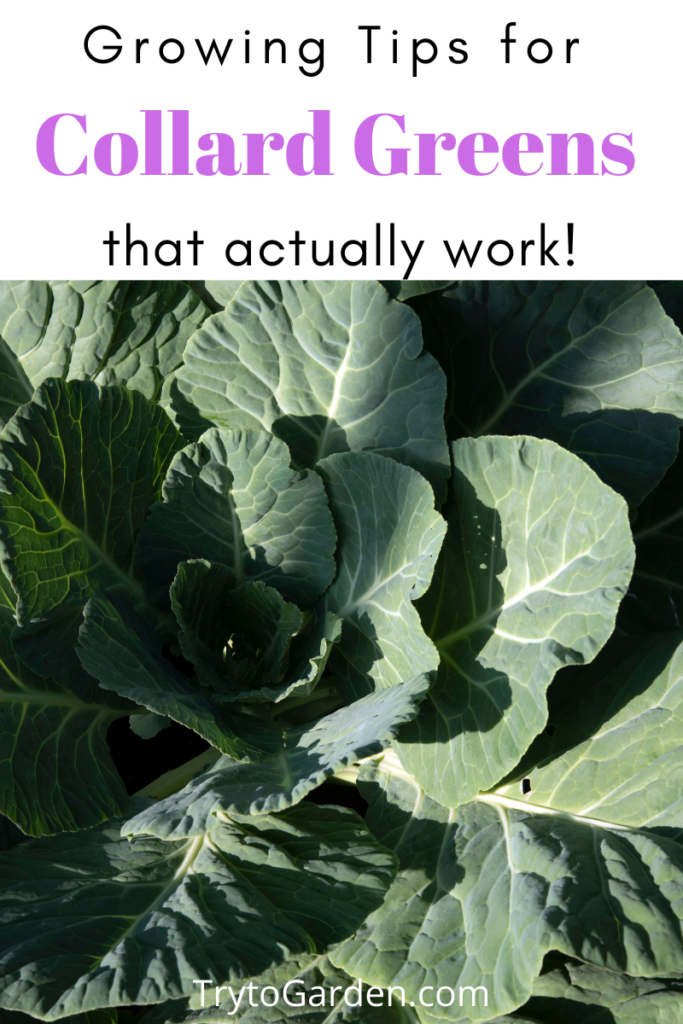
Gardening Tips for Collard Greens That Actually Work
They make a high volume of seeds, but for most gardeners controlling the crop by harvesting and replanting is a more effective option.
Collard Greens Benefits
They are packed with nutrients; Vitamins K, A, C, calcium, and folate, as well as soluble fiber and anti-oxidants. Collards also contain nutrients that act as modulators of the immune response system with anti-viral, anti-bacterial, and anti-cancer activity. In short, they're perfect for you.
Many folks use the juice pressed from fresh leaves and leaf stems. Taken regularly, it is said to be an effective remedy for gout, bronchitis, and blood circulation problems.
Basic Collard Greens Facts:
Seed should germinate in 5 to 10 days at an optimal temperature of 75°F (24°C) or so.
Collards can be planted in early spring for early summer harvest, or in late/summer or early fall for a late fall harvest. Most varieties are ready to harvest in 55 to 75 days.
Collard greens prefer cooler growing temperatures, between 55–75°F (13–24°C), optimum being 60–70°F (16–21°C), but will produce good crops under warmer, summer conditions.
One plant produces quite a nice amount, depending on how excited you are about adding them to your diet, you might want at least one plant per person in your household.
Collard greens have a strong, slightly bitter taste and a fibrous texture. This makes them good for using as a wrap or shredding to add to a salad mix. Most people prefer them cooked, and it takes longer to cook them than standard greens.
Planting and Growing
Prepare your garden bed about a week before the last frost is due in cold regions. In extremely hot areas, like the southwest, wait until the heat breaks, then grow as a winter crop. Till the soil at least a foot deep, as collards put down deep roots.
They like rich, loamy, sandy soil with a pH of 5.5 to 6.7. Add compost or aged manure to sandy soil and peat moss to thick, heavy soil. A 10-20-10 fertilizer is recommended. Form the soil into raised rows about 6 inches high and 3 feet apart. Collards can grow up to two feet tall and need plenty of room.
Pour the tiny seeds into a piece of folded cardboard, and then pour thinly down the row. Cover with an inch of soil. Sprinkle water until the soil is uniformly damp. Keep it damp until germination, usually 6 to 10 days once they sprout, water deeply once or twice per week, depending on your climate. Drip irrigation works very well for collards.
Thin the seedlings when they are about two inches tall. You can transplant them if you wish. Mulch or lay newspaper to discourage weeds. When the leaves of adjacent plants are touching, you can thin again so that your plants are 18 inches apart. The thinned plants will be a tasty, tender green in salads or cooked as greens.
From this point on, you can harvest continually by removing the outer leaves. Leave the inner three layers of leaves intact. This will ensure your plants continue to produce more. In frost-free regions, they should produce all winter. In colder areas, they will tolerate light frost; in fact, some claim the flavor sweetens after the first frost. After the first hard frost, harvest the whole plant. If the outer leaves are allowed to grow more than a foot tall, they will be bitter. Please put them in the compost pile and eat the more tender inner leaves.
Problems to Watch For
If the leaves begin to look pale or yellowish, fertilize with a 10-20-10 fertilizer. If they dry and curl, they are not getting enough water. In dry climates, mist the plants in the evening to make up for the lack of humidity.

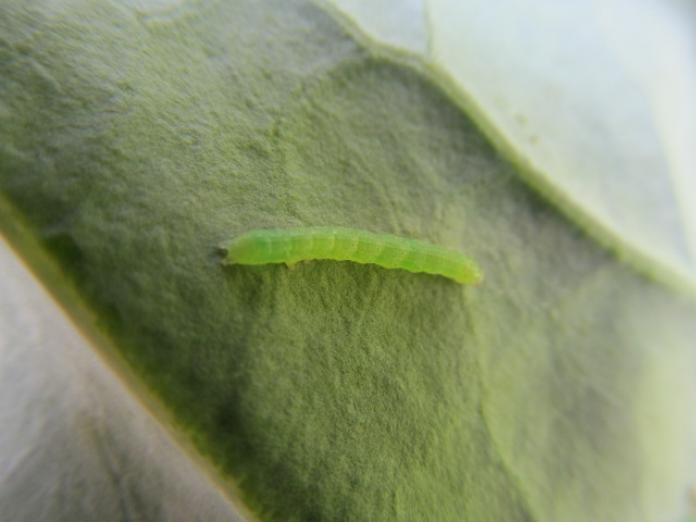
If the leaves develop holes or brown spots, look for invaders. Aphids will gather on the bottom of the leaves. Cabbage worms may be anywhere and are hard to see. They will destroy your crop in a very short time. Apply a dusting of diatomaceous earth or boric acid to get rid of these pests.
Storage
Collards will keep for several days unwashed. Wrap them in a moist paper towel and refrigerate. When ready to use, wash thoroughly. To keep them longer, they store frozen better than canned. Prepare about a pound at a time. Clean them well and slice or chop them into uniform pieces. Blanch for 3 to 4 minutes. Drain, dry, and freeze immediately. Typically they will keep for 3 to 6 months frozen.
Collard Greens Easy Recipe
Collard greens have a strong, slightly bitter taste and a fibrous texture. Where other greens, like spinach, are cooked just until they wilt, collards need to be cooked longer - about 15 minutes and up to an hour, depending on your taste.
Prepare them by removing the stalks and large stems and any brown spots. Wash well. Cook either as large leaves, sliced or chopped. Steam them in as little water as possible so as not to lose more nutrients than you have to. Use the cooking water to make pan gravy for your meat, as a base for soups and stews, or cool and add to other vegetables to make purees or veggie drinks.
Collard greens are tasty as a side dish, either alone or mixed with other greens like beet tops, mustard greens, or chard. Season them to taste with vinegar, lemon, butter, pepper, onions, or garlic. They are also excellent in any recipe that calls for cooked cabbage and makes very good additions to soups and stews. Try pairing them with turnips, rutabagas, beets, cornbread, pork, ham, or corned beef. Or, chop fine and add to stir fry for a pungent change of pace.
